
Set up a VPN using the User Defined setting in Kodi VPN Manager Addon
How to use the VPN Manager addon in Kodi to configure a VPN that is not in the managers list of options.
To connect to a VPN we are going to use the OpenVPN client.
This example is for Kodi running on a Raspberry PI but it will be similar for many other systems.
LibreElec, Openelec and other platforms already have OpenVPN installed. But to actually use OpenVPN you need to install the client add-on.
I have chosen to use CactusVPN for this example. The Kodi VPN Manager does not offer CactusVPN as one of the pre-defined options, so this will be a guide on how to get it up and running.
CactusVPN support 6 different protocols. This means that you will be able to get it working with almost all devices. Most importantly for us is they support the OpenVpn protocol which is exactly what we need for Kodi.
First we need to download a repository which has the OpenVpnManager in it.
Follow these simple steps.
Using your PC download the Zomboided repository
Save this file to a USB memory stick
Now for the OpenVPN config files.
Head over to CactusVPN and sign up. If you first want to make sure it works for you then sign up for their free trial, no payment required.
Once you have registered go into the client area and select ‘How To Start’ from the menu.
Look for the User name and Password near the bottom of the screen and make a note of them.
You will find the OpenVPN config files near the bottom of the page. OpenVPN config files for CactusVPN
Choose FreeVPN Trial or if you signed up choose from the other options.
Save these files on the USB memory stick.
Load it into Kodi
Plug the memory stick into the Raspberry USB port.
Go to File Manager and choose Add Source


You should see the USB memory as one of the options. Choose it and give it name then click OK.
Exit from File Manager and choose Addons from the menu on left. At the top of screen click on
Install Repository
 then choose Install From Zip File
Find your USB memory in the list and find the repository file. ![]()
Install Addon
Once this is complete select Install from Repository in the same menu. Choose the Zomboid Add on Repository. ![]()
Click on Services then select VPN Manager for OpenVPN.
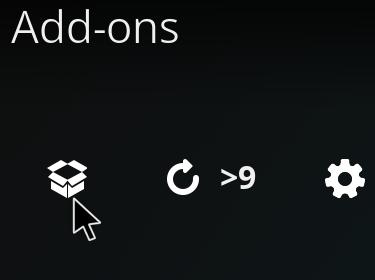
After the installation Click on Program Addons and you should see the VPN Manager.

Configure VPN Manager
Click on it and select settings. Choose User Defined from the VPN provider list. Also Set your User name and Password which you got from CatusVPN.


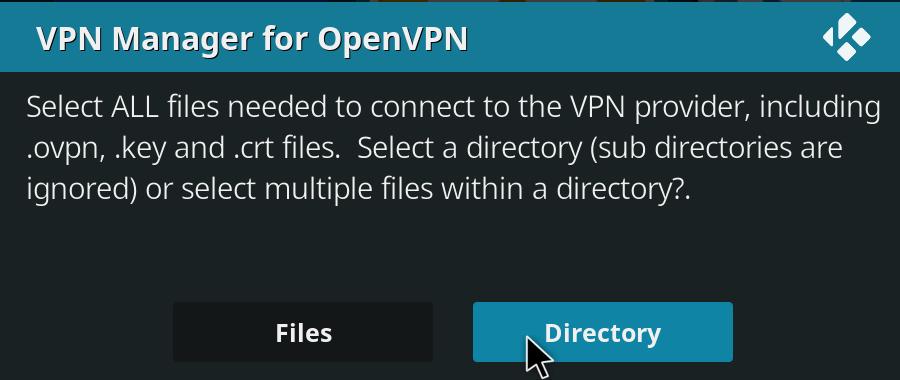
Scroll down and select the User Defined Import Wizard. 
Select Yes when it asks to delete existing definitions. On the next screen choose directory.
 then No on this screen
Browse to the memory stick and select the folder which has the OpenVPN files which you downloaded from CactusVPN , Click OK.
Make a Connection
Now just one more step to configure it. Choose VPN Connections from the left menu. Select First VPN Connection.

If all is working you should see a list of server names. 
Pick a server and select OK. This might take a minute… 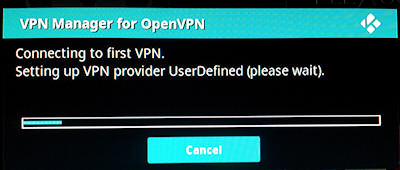
When it has completed click OK. Configuration over.
Click on the VPN Manager addon, select the Change or Disconnect VPN Connection option.
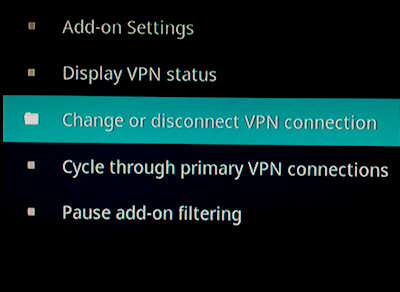
Sit Back and Watch a Movie
This is where you switch between VPN servers.
That’s it. There are many other settings but for now this will be enough to get you up and running.
Kodi, OpenVPN and CactusVPN names are owned by their respective copyright holders.
